To start stargazing, you need three things: your own eyes, a spot away from bright lights, and about 20 to 30 minutes for your eyes to adjust to the dark. That is the whole starter kit. You do not need a telescope, an app, or any astronomy knowledge to see thousands of stars, the Moon's craters through simple binoculars, bright planets, and the International Space Station gliding overhead. In fact, buying gear first is the most common way beginners get discouraged. This guide walks you through your very first night step by step, so you know exactly what to do and what you will actually see.
Most guides hand you a list of tips and leave you standing in the dark wondering what to do with them. This one is built as a timeline for your first hour under the sky, plus an honest answer to the question nobody selling telescopes wants to give: do you really need one to begin? (You do not.)
What You Can Really See With Just Your Eyes
Let us set expectations first, because managed expectations are what keep beginners from quitting on night two.
From a genuinely dark location on a clear, moonless night, most people with normal vision can see stars down to about magnitude 6. That works out to roughly 2,000 stars visible at any one moment above your horizon, according to figures cited by EarthSky and Sky & Telescope. Across the whole sky there are around 9,000 stars bright enough for the naked eye, but you only ever see the half that is above you at a given time.
With no equipment at all, you can spot:
- Thousands of individual stars, and the fact that they are not all white (some are clearly orange, blue, or yellow)
- The Moon, including the darker patches that early astronomers mistook for seas
- The brightest planets: Venus, Jupiter, Mars, and Saturn all look like bright stars that do not twinkle
- The International Space Station crossing the sky in a few minutes
- The Milky Way as a faint, cloudy band, if your sky is dark enough
- The occasional shooting star
Here is the honest part. A planet like Saturn seen with your eyes is a steady bright dot, not the ringed Hubble portrait in your head. The Milky Way is a soft glow, not the saturated purple river from a long-exposure photograph. Cameras collect light over many seconds; your eye works in real time. Once you accept that the real sky is subtler than the photos, the real sky becomes genuinely thrilling instead of a letdown.
Step 1: Find Out How Dark Your Sky Is
The single biggest factor in what you will see is not gear. It is your sky. A dark sky with no equipment beats an expensive telescope under city lights every time.
Light pollution, the artificial skyglow from streetlights and buildings, washes out fainter stars. From a bright city center you might see only a few dozen of the brightest stars. Drive 30 to 60 minutes to darker countryside and that same sky can show a couple thousand.
Astronomers rate sky darkness on the Bortle scale, a nine-level system running from pristine wilderness dark (Class 1) to inner-city sky (Class 9). You do not need to memorize it, but knowing your rough class tells you what is realistic tonight. Free light-pollution maps let you check your area and find darker spots nearby in a couple of minutes. We break the whole system down in our guide to the Bortle scale explained for beginners, and walk through how to actually use those maps and find a real spot near you in how to find a dark sky site near you.
The takeaway for your first night: you do not have to reach true wilderness. Even a local park, a school field, or your own backyard with the porch light off is a real improvement over a lit street.
Step 2: Pick the Right Night
Three things decide whether a night is worth going out: the Moon, the weather, and the season.
The Moon. A full Moon is genuinely as bright as a streetlamp in the sky, and it drowns out fainter stars and the Milky Way. For your first star-focused night, aim for the week around the new Moon, or go out after the Moon has set. That said, do not write the Moon off entirely. A half Moon is the best possible first target through binoculars, because the shadows along its terminator (the line between light and dark) throw its craters into sharp relief.
The weather. You want clear skies and, ideally, low humidity. A standard weather forecast that shows cloud cover is enough to start. Haze and high humidity scatter light and dull the view even when it is technically cloud-free.
The season. Winter nights are a common favorite for beginners. The air is often clearer and steadier than warm, hazy summer air, and it gets dark early, so you do not have to stay up late. The trade-off is the cold, so dress far warmer than you think you need to. Standing still for an hour gets chilly fast; see what to wear stargazing in winter for the layering system that actually holds up. For a fuller breakdown of how twilight timing and moon phase combine, see our guide to the best time of night to go stargazing. And once you know your target season, our naked-eye sky guide by month covers what actually dominates the sky in each one.
Step 3: Your First Hour Under the Sky
Here is the part other guides skip. This is what to actually do, minute by minute, on your first night.
Minutes 0 to 5: get settled. Get to your spot, set out a chair or a blanket, and put your phone away or switch it to a red-light or night mode. Our stargazing checklist covers everything worth having with you before this step. This next part only works if you commit to it.
Minutes 5 to 30: let your eyes adapt. Your eyes are not ready for the dark the moment you step outside. Over about 20 to 30 minutes, your pupils widen and the light-sensitive rod cells in your retina reach full sensitivity. This is called dark adaptation, and it can improve how much you see by a large margin. The catch: a single glance at a bright white phone screen resets much of that progress in a second, and you have to start the wait over.
This is why experienced observers use red light. Your night vision is least sensitive to deep red, so a red flashlight or a red phone-screen mode lets you read a star chart without wrecking the adaptation you spent half an hour building. A cheap red flashlight, or a bit of red cellophane taped over a white one, does the job. We go deeper on the science and timing in dark adaptation and red light explained.
Minutes 30 onward: start looking. Now the sky is genuinely darker than when you arrived, and stars you could not see at first begin to appear. Start by simply learning the layout. Find the brightest patterns, notice which way is north, and let the sky feel less random. Then move on to specific targets below.
A quick way to orient yourself: in the Northern Hemisphere, find the Big Dipper, follow the two stars at the end of its bowl, and they point to Polaris, the North Star, which marks true north and barely moves all night.
Five Easy First Targets
Give yourself a short checklist. Ticking off real objects is what turns a vague "look up" into a satisfying session.
- The Moon (when it is up). The easiest object in the sky and stunning through even basic binoculars. Aim for a half Moon, not a full one, to see craters and mountains in relief.
- A bright planet. Venus blazes low after sunset or before sunrise. Jupiter, Mars, and Saturn look like bright "stars" that shine steadily instead of twinkling. A free sky app will tell you which planets are up tonight.
- A constellation you can actually find. Start with an obvious one: the Big Dipper, Orion (look for the three stars in a row of its belt in winter), or Cassiopeia's distinctive W shape. Learn one shape well before adding more. See our picks for the best constellations for beginners to learn first for why these three specifically.
- The International Space Station. The ISS is the third-brightest object in the night sky after the Moon and Venus, bright enough to see even from a city, per NASA. It appears as a steady, fast-moving light with no blinking, crossing the sky in a few minutes. NASA's free Spot the Station service will email or notify you before a pass over your exact location. The best passes come in the one to two hours after sunset or before sunrise.
- The Milky Way (dark skies only). From a Bortle Class 4 sky or darker, on a moonless night, the Milky Way appears as a faint glowing band arching overhead. If you can see it, you have found a good site. We cover how and when to find it in how to see the Milky Way with the naked eye.
Free Apps and Charts That Do the Hard Work
You do not have to know the constellations in advance. A few free tools identify everything for you.
- Planetarium apps. Free versions of apps like Stellarium show a live map of the sky. Hold your phone up and it labels the stars, planets, and constellations you are pointing at. Use the app's red night mode to protect your dark adaptation. Our full roundup of the best free stargazing apps covers what each one actually does.
- A planisphere (star wheel). A cheap plastic dial you rotate to your date and time to see what is up. It never runs out of battery and never blinds you with a bright screen, which is why many observers keep one even in the app era.
- NASA Spot the Station. The official free tool for ISS pass times over your location.
- Light-pollution maps. Free web maps for scouting darker sites, as covered in Step 1.
When (and When Not) to Buy Binoculars or a Telescope
Here is the section most beginner guides avoid, usually because they are trying to sell you something.
You do not need to buy anything to start, and you should not buy a telescope as your first purchase. Here is why. A cheap department-store telescope, the kind marketed on the box with impossible magnification numbers, is often the single fastest way to kill a new stargazer's enthusiasm. They are shaky on flimsy mounts, hard to aim, and deliver a dim, wobbling blur that looks nothing like the box art. Many end up in a closet within a month. The problem is rarely the beginner. It is the tool.
The better path is a step at a time:
- Start with your naked eyes. Learn to find north, recognize a few constellations, and spot the bright planets. This costs nothing and builds the sky-reading skill everything else depends on.
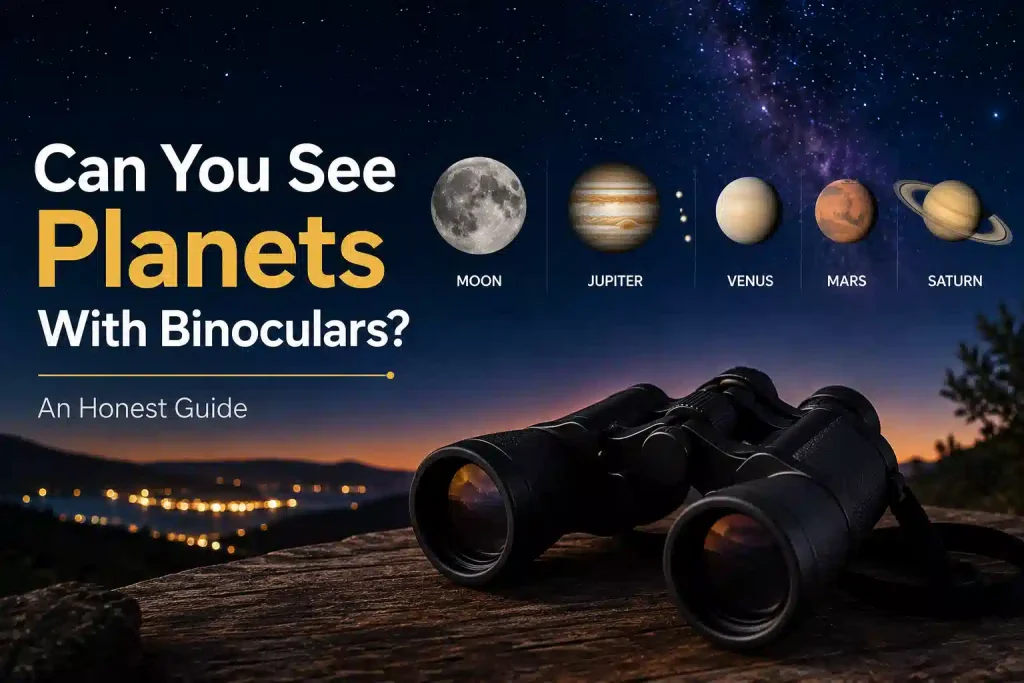
- Add binoculars next. A modest pair of binoculars is the most underrated instrument in astronomy. They are cheaper than a telescope, need no setup, and show the Moon's craters, the four largest moons of Jupiter as tiny dots, star clusters, and a far richer Milky Way. A common beginner-friendly size is 10×50. We cover what to look for in the best binoculars for stargazing, and what you can actually see with them in our guide to viewing the planets with binoculars.
- Consider a telescope only once you know you love this. After a few months, when you know which objects you want to see in more detail, a telescope becomes a smart purchase instead of a gamble. By then you will understand aperture and mounts, and you will not waste money on the wrong first scope.
The short version: your eyes tonight, binoculars in a few weeks if you are hooked, a telescope down the road. Skip the order and you risk buying frustration.
Your First Night, in One Line
Pick a clear, moonless night. Get somewhere darker than your street. Put the phone away and give your eyes half an hour. Then find the Moon, a bright planet, one constellation, and if you are lucky, the space station passing over. That is a complete first session, and it did not cost you anything.
Frequently Asked Questions
What is the best time to start stargazing?
Go out on a clear night with little or no Moon, ideally around the new Moon or after the Moon has set. Winter is a popular season for beginners because the air is often clearer and it gets dark early. Plan to spend at least 30 minutes outside so your eyes can fully adjust to the dark.
Can you stargaze in a city?
Yes, but with limits. City light pollution hides fainter stars, so you will mostly see the Moon, the brightest planets, a handful of bright stars, and the International Space Station, which is bright enough to see even through urban skyglow. To see the Milky Way and thousands of stars, drive 30 to 60 minutes to a darker area.
Do you need a telescope to start stargazing?
No. You can see thousands of stars, the Moon, bright planets, and the space station with just your eyes. A cheap, poorly made telescope often discourages beginners more than it helps. Start with your eyes, add binoculars if you want a closer look, and consider a telescope only once you know you enjoy the hobby.
How long does it take for your eyes to adjust to the dark?
About 20 to 30 minutes for most people. During that time your pupils widen and the rod cells in your eyes reach full sensitivity, letting you see far fainter stars. A glance at a bright white phone screen undoes much of it, so use a red light or a red night mode to preserve your night vision.
How can I tell a planet from a star?
Planets tend to shine with a steady light, while stars twinkle, especially near the horizon. The brightest "stars" that do not twinkle are usually planets like Venus, Jupiter, Mars, or Saturn. A free sky app will confirm what you are looking at by name.